The Only Complete and Latest Flutter Dive: A Complete Bliss.
Stop whatever you are doing right now for 10 minutes and just take a deep breath and enjoy this article with me.

Stop whatever you are doing right now for 10 minutes and just take a deep breath and enjoy this article with me.
Flutter. I am truly in awe of the technology and have been in love ever since. I cannot begin to fathom how much thought and energy would have been spent in the process. I started my journey with Flutter in January 2019. A little late but I got in. And I insist everyone of you to take a dive with me while I explain what is Flutter, throwing some tips here and there.
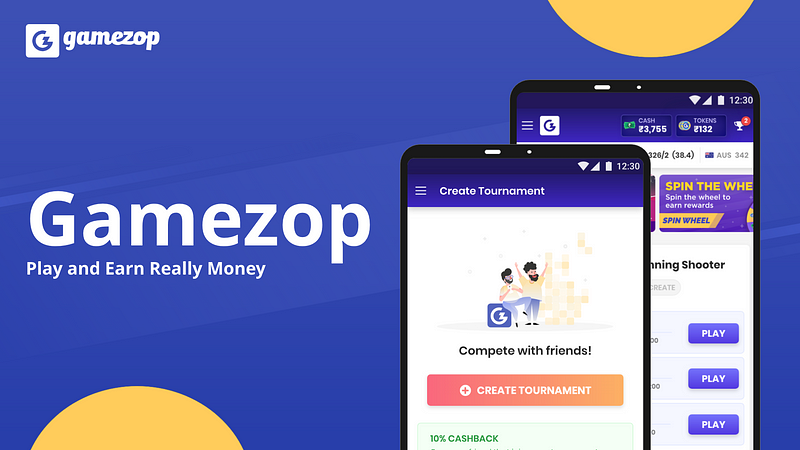
Before we begin, I would love for you to try my latest gaming application that implements all of the features that I am going to talking in this series. Any feedback is appreciated. Open this link in your mobile, if possible.
Try it: Gamezop
What is there in this 10 minutes relaxing journey:
- Who this article is for?
- What is Flutter?
- How it works?
- Starting with Flutter code.
- What is Declarative UI?
- Some Code breaking Tasks.
- How to make it faster?
- Some tips.
Who this article is for?
This article is for entry level developers who wish to start their career in Flutter and just be in love with it. We are going to cover some amazing topics and see how Flutter manages to keep up with time to market and faster development times.
Prerequisites:
You should know any Object Oriented Programming Language. Any OOP language works.Even if you don’t, even that works!
What is Flutter?
Flutter is Google’s portable UI toolkit for building beautiful, native applications for both Android and iOS from a single codebase.
And on 7th April, 2019 in Google IO, Google announced that Flutter can now build applications for:
- Android
- iOS
- Web
- Desktops
- Embedded
With single codebase!

You can watch the Google Announcement here:
How it works?
We are going to come back to this later after we’ve covered some basics about Flutter.
Starting with Flutter Code
Google has done an awesome job in documenting all the steps for installing Flutter and I am inclined to send you there. Documentation these days are not as difficult as they used to be. Earlier I used to hate documentations and would rather prefer some video tutorial for some information. But now, it has all become so easy.
And I want to make this more easy for you and want you to head here and install if you do not have Fluter on your system.
After you’re done, let’s create a project and name it flutter_intro. Your editor, Android Studio, or Visual Code will look like this:
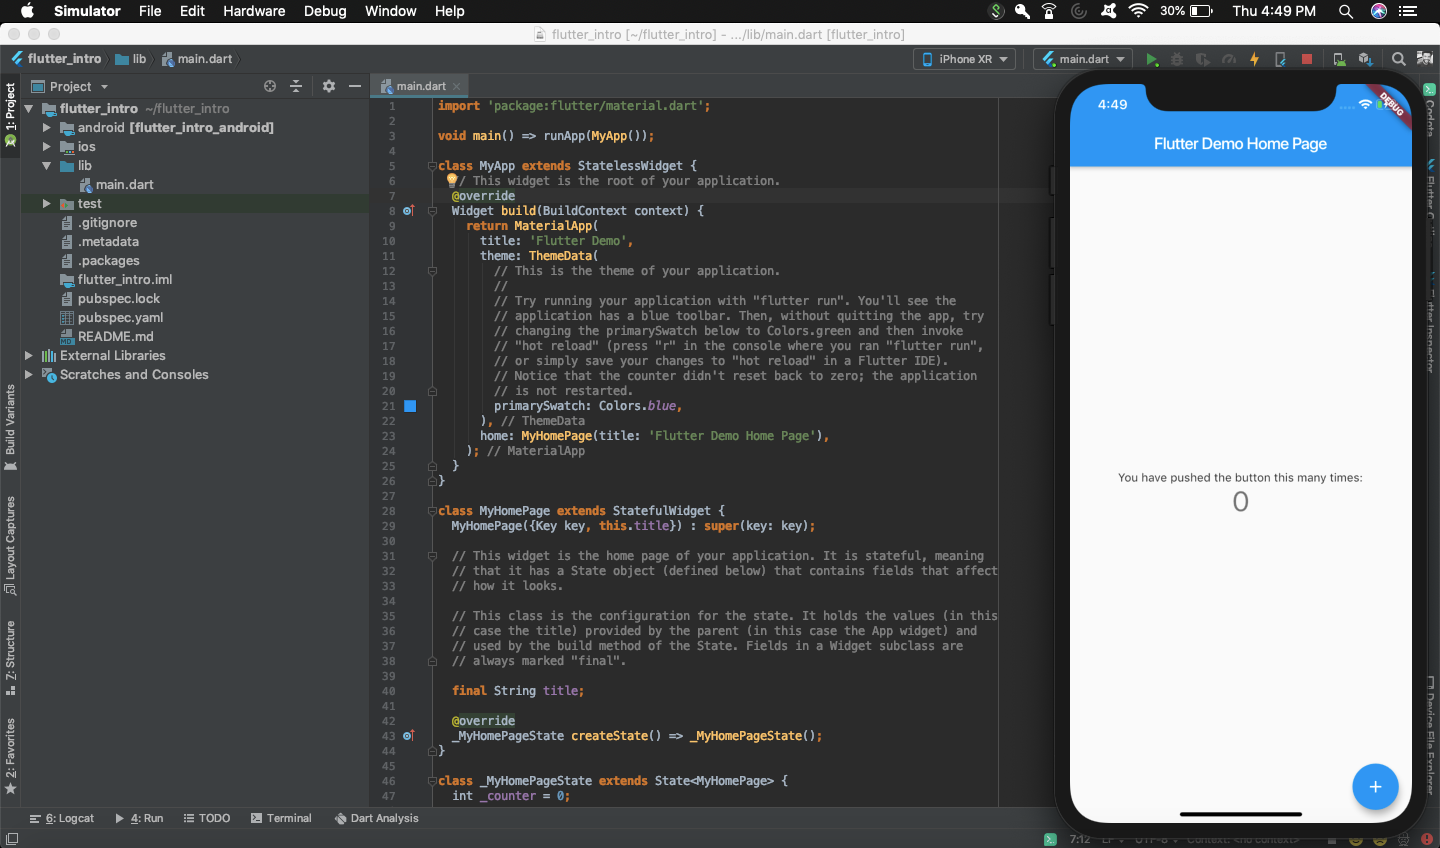
All the code that you will write will go in the main.dart file that is present under the lib folder. Now we are going to break this project and keep on learning how actually flutter works. And in that process we are going to understand how to work with Flutter.
A deep breath here, just before you dive into absolute bliss.
Now take a deep breath. I am serious, take it! Take it, dammit!

If you see at the top of this file, you will see an import statement and the main function. The import is a directive that directs flutter to import all the files mentioned after the import keywords for this current working file.
And there is a main function that is the starting point of the application. The flat arrow notation => is used when the function is a very simple and single line. It can also be written as:
runApp is a function that takes in a Class’s Object. This class is a Widget. Keep this in mind.
Almost Everything in flutter is WIDGET. And a widget is just an immutable description of part of UI.
If you didn’t get the definition of a widget, don’t worry. Those are just some fancy words to scare off developer noobs like us. So a widget is immutable, that means it cannot change. Let’s build on this definition.
So this code right below, says that MyApp is a StatelessWidget. Now keep following me and do not worry about what Stateless means here. We’ll get back to that in a minute.class MyApp extends StatelessWidget {@override
Widget build(BuildContext context) {
return MaterialApp(
title: 'Flutter Demo',
theme: ThemeData(
primarySwatch: Colors.blue,
),
home: MyHomePage(title: 'Flutter Demo Home Page'),
);
}}
Every Widget has a build method that takes in a BuildConext. This BuildContext defines the position in the widget tree. Now a tree is how Flutter manages its widgets. So MyApp is at the top of the tree.
So back to build method. It takes in a context and returns a Widget as we can see in the method signature above. This widget is MaterialApp Widget, which is in-built that has a lot of out-of-the-box parameters that help you out a lot. Like you can set the title of the application through the title tag, and theme through a theme tag and the starting screen through a home tag. And if you see, after the home tag, its MyHomePage(…) that is also a widget.
Let’s take some rest and break the code to pieces!

Code Break Task 1:
If you modify the code above like this:import 'package:flutter/material.dart';
void main() => runApp(MyApp());
class MyApp extends StatelessWidget {
@override
Widget build(BuildContext context) {
return MaterialApp(
title: 'Flutter Demo',
home: Center(child: Text('This is a flutter intro')),
);
}
}
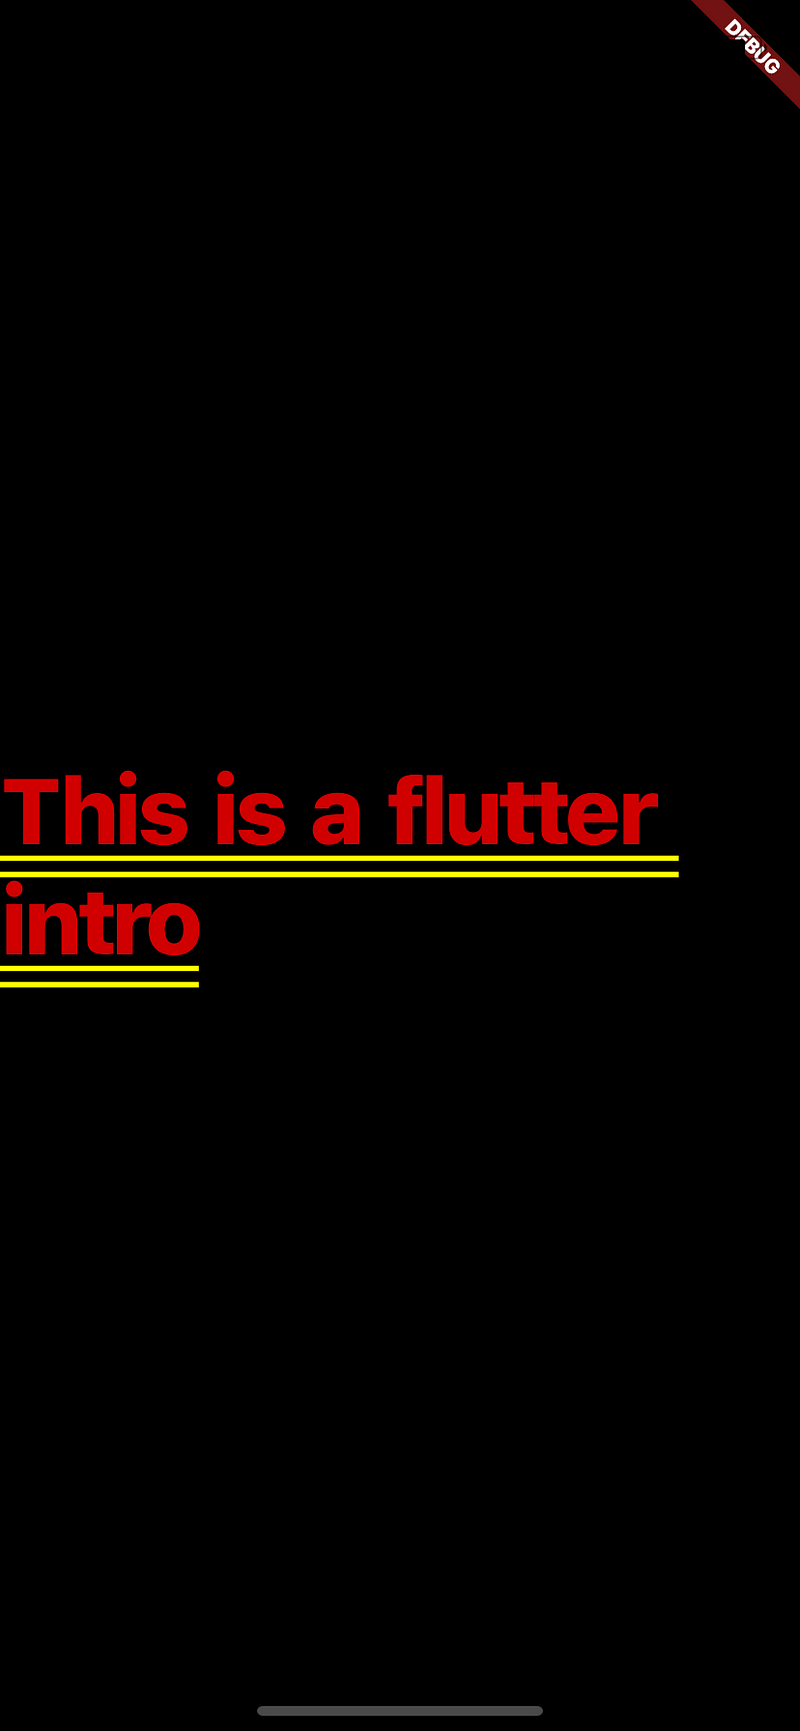
So this is the output of the code above. Center is also a widget that centers all the widget below it (meaning child widgets) in the center. This is the power of Flutter. Really easy. Now let’s move on the next piece of code.class MyHomePage extends StatefulWidget {
MyHomePage({Key key, this.title}) : super(key: key);
final String title;
@override
_MyHomePageState createState() => _MyHomePageState();
}
class _MyHomePageState extends State<MyHomePage> {
int _counter = 0;
void _incrementCounter() {
setState(() {
_counter++;
});
}
....
}
MyHomePage is a class that inherits from StatefulWidget. Now let’s understand what is Stateless and Stateful Widget. We will get back to what is StatefulWidget and what is StatelessWidget, but for now, let’s think of them as
- StatelessWidget: Which cannot be changed.
- StatefulWidget: Which can be changed.
Uh oh! If you had read earlier carefully, I said that Flutter widgets are immutable (meaning they cannot be changed!), then how can StatefulWidget change?
Actually, StatefulWidgets have a State Object attached to them. Do not go deep into what State Object is now, but think of it as the current status of a widget of how it looks like or what data it has at a point of time. And then whenever we want to change the data, we tell the StatefulWidget to change the data through a function called setState().
What this function does is, it changes the data as you requested and then rebuild the widget with the new data. Now at this point, the widget is still immutable. Only the state object attached to it has changed.
Stateless and Stateful Widgets in Action:
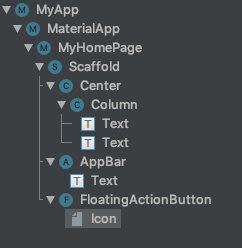
If you see the tree above, you see that
- MyApp is a Stateless Widget (As shown in the code) and has a child MaterialApp.
- MaterialApp is a StatefulWidget and has a home set to MyHomePage.
- MyHomePage is StatefulWidget and has child Scaffold (Also a StatefulWidget). And so on.
You know that StatelessWidgets do not change at all and they do not have any setState function because they do not have a state object attached to them. So once they’re built, they do not change. So you use them when you want the widgets to have some data and don’t want it to change in the course of app run time. Example: A button widget having text as Sign in. You won’t want the button to change the text. So you will make the button Stateless.
StatefulWidgets, on the other hand, have data that can be changed.
If MyApp data is changed somehow, it won’t rebuild. So if you see the tree image above, the widgets below it won’t rebuild. But in case of MyHome, which is a StatefulWidget, all widgets under it will rebuild once the MyHome calls it setState function.
We want minimum build cycles to improve our app’s performance.
This is simple maths. The more the number of times a widget is rebuilt, the more time the app takes time to repaint the widget to the app screen.
More StatelessWidgets = More Efficiency.
That does not mean you want all your widgets to be stateless. Your app will obviously have a scenario where the data in the widget will change. Example: Fetching data from the network and pull to refresh, and much more. You would obviously want your app to DYNAMIC!
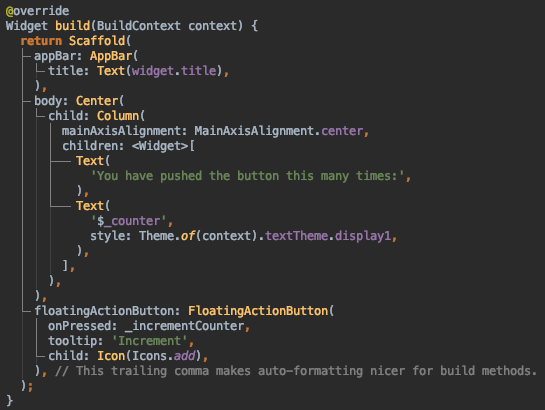
If you see the code image below, Just as MaterialApp is an inbuilt out-of-the-box widget, so is a Scaffold Widget. It allows us to set AppBar, BottomNavigation, SideMenu, etc.
You know what Center Widget is and a Column Widget is no less. It makes all its children under a single column. No rocket science here!

Text Widget displays text and this is String Interpolation:'${_counter}'
It means it will read this as a variable inside a string. If you see, the floating action button calls a function _incrementCounter.void _incrementCounter() {
setState(() {
_counter++;
});
}
This function calls setState and increases the counter. What happens now is that it increments the counter by 1 and rebuilds the widget with new data. So the MyApp widget displays the count from 0 to 1.
Let’s break the code again!

Code Break Task 2:
If you change the _incrementCounter function to this:void _incrementCounter() {
_counter++;
}
What this will do is, it will just update the counter variable and not build the widget again. So the new data will not be reflected on the screen.
Run the application again and see that it doesn’t change the data.
OKAY, I KNOW IT IS A LOT TO TAKE IN.
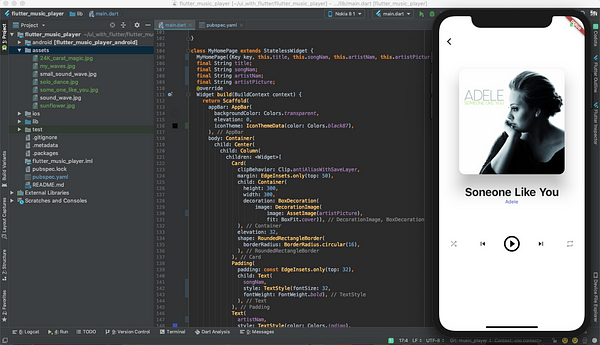
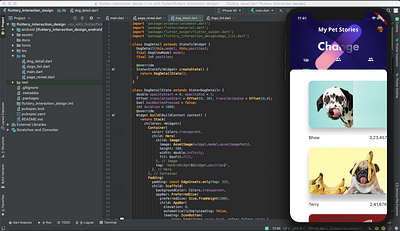
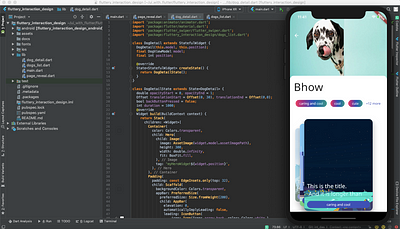
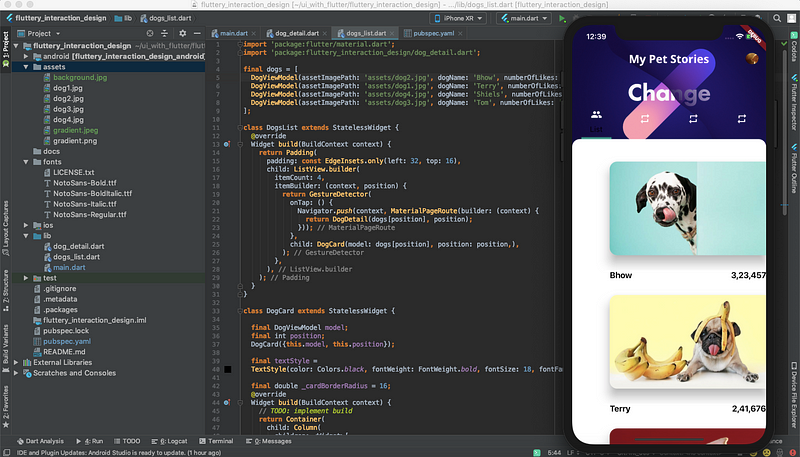
Let’s pull the plug for now, and let this sink in. Play with the application more and we will then pick up from here and build a nice application that looks like this:
After you’re done with all the reading, for a recap, see this video:
Thank you for reading the article. I would appreciate it if you would clap for it! It just takes 5 seconds for 50 Claps!